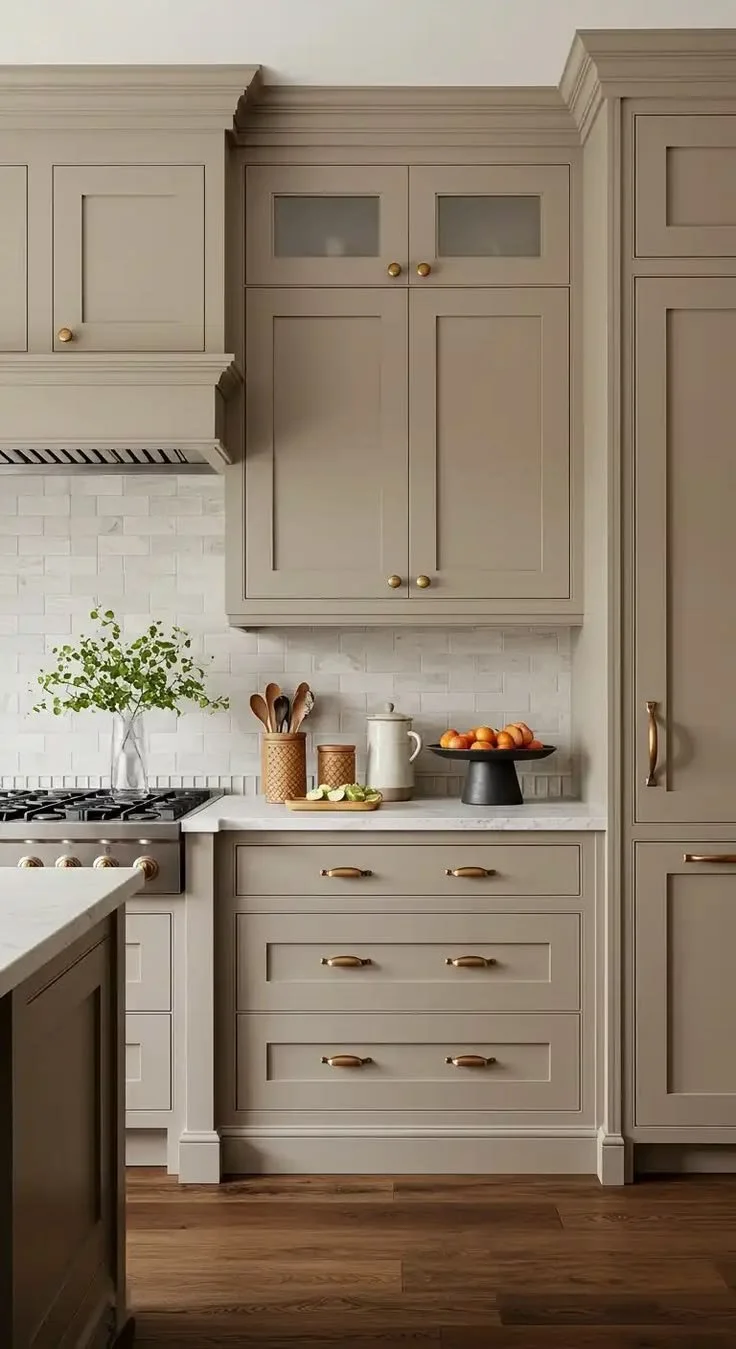
How to Paint Kitchen Cabinet Like a Pro
$25-$50 Total Cost
1 Weekend
Anyone Can Do It
What You’ll Need
Cabinet Paint or Chalk Paint Kit
220-Grit Sandpaper
Painter’s Tape & Drop Cloths
Liquid Deglosser or TSP Cleaner
Foam Roller & Angled Brush
Screwdriver & Labeled Bags
1. Doors & Hardware
Unscrew cabinet doors and drawer fronts, and remove all knobs and hinges. Place hardware in labeled bags so you know exactly where everything goes back.
2. Clean & Degrease
Kitchen cabinets accumulate grease you can't always see. Wipe every surface down with a degreaser or TSP cleaner — paint won't stick to a greasy surface.
3. Lightly Sand
Scuff up glossy finishes with 220-grit sandpaper. You're not stripping the cabinet — just dulling the shine so the new paint has something to grip.
4. Tape off & Protect
Tape surrounding walls, countertops, and any hardware staying in place. Lay drop cloths on the floor to catch drips.
5. Apply the First Coat
Use an angled brush for edges and corners, then a foam roller for flat panels — this combo avoids visible brush strokes. Apply a thin, even coat.
6. Let Dry, Then Add a Second Coat
Most cabinet paints need 4–6 hours between coats. A second thin coat gives you full, even coverage — resist the urge to apply one thick coat.
7. Reattach Hardware (or upgrade it)
Once fully cured (24–48 hours), rehang doors and drawers. This is also the perfect moment to swap in new pulls and knobs for a finished, custom look.
Pro tip: Number each door and its matching opening with a small piece of tape before removal — cabinet openings are rarely perfectly identical, and this saves a frustrating puzzle later.